Astrophotography equipments
Introduction
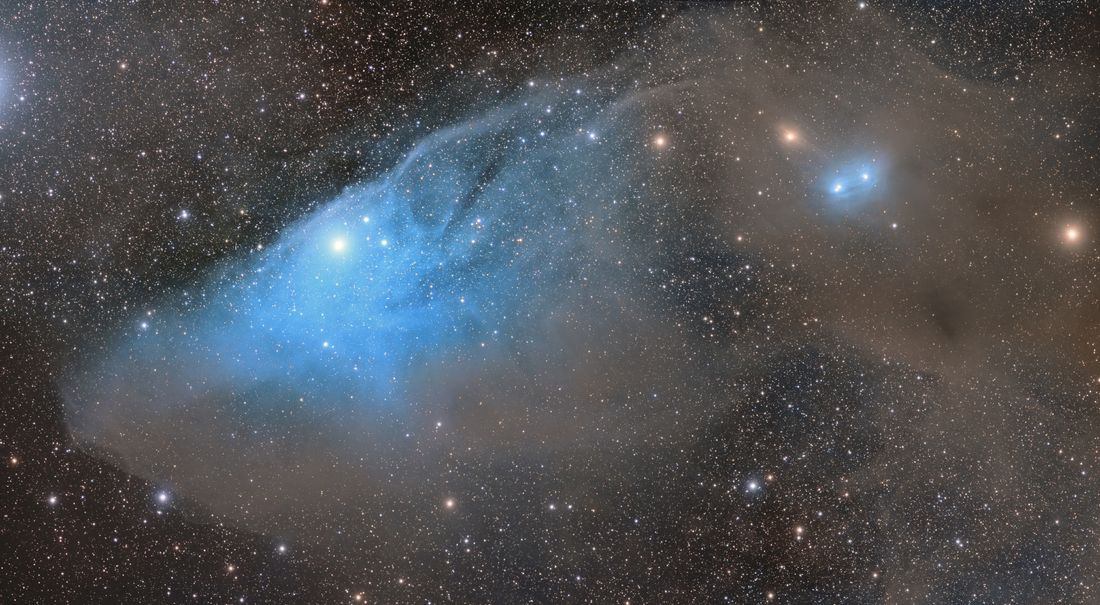
Thanks to Hubble’s images and those of renowned astrophotographers which travel on the Internet, more and more of you are interested in astrophotography. To get into practice and satisfy your passion, buying your astrophotographic equipment is the first step.
It is important not to be mistaken: the right instrument is neither the more expensive, nor the biggest, but the one that is often used. Since the arrival of Chinese manufacturers on the market approximately 20 years ago, the supply has become very abundant. It is difficult for an uninformed person to choose the right equipment. To help you choose and make your beginnings a success, here is this guide.
One equipment for each type of object
Your new astrophotographic equipment will not allow you to take all types of images. As in daytime photography, do not expect to take pictures of animals with a wide angle lens. It’s exactly the same thing in astrophotography because there are a multitude of objects in the sky. Small ones that will require a lot of focal length, very large ones that will require less focal length, distant ones that will require many hours of exposure times, very bright closest ones that will require super fast cameras, etc. Whatever the chosen discipline, the budget necessary to practice astrophotography can be important.
Two major astrophotographic domains exist: “planetary” astrophotography to photograph the Moon and the planets, and “deep-sky” astrophotography to photograph objects located beyond the solar system (nebulae, galaxies…).
Principle
The enemy of the astrophotographer is noise. We all have observed it: when taking photographs in low light, the picture quality is poor. It is degraded by noise. To reduce it, the technique used in astrophotography is always the same: we stack several images on a computer to simulate a long duration exposure. The obtained result is a low noise image.
Planetary astrophotography
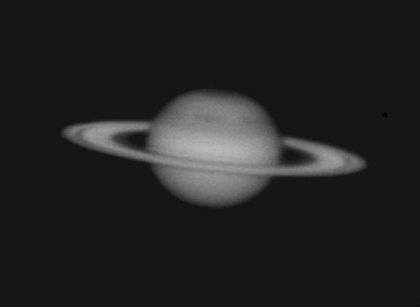
Planetary astrophotography will allow you to photograph objects of our Solar system: the Moon, Saturn and its rings, Jupiter… But beware, not the Sun because it requires a specific equipment. Like visual observation, planetary astrophotography requires a wide diameter instrument, at least 200 mm to achieve good results.
In planetary astrophotography, the first enemy is the turbulence produced by the atmosphere. It is like when you look out of a window above of a radiator on a winter afternoon: the landscape in background is disturbed by the warm air rising above the radiator. The Earth’s atmosphere has the same effects on images that come to us from the sky.
But unlike the turbulence generated by a radiator, it may happen that the atmosphere calms down for brief moments. During this “hole” of turbulence, the images become sharp. It is necessary to take advantage of this moment to acquire as many images as possible. The technique is to use a super fast camera (some may take up to 60 frames per second!) to film the planet for a few minutes. A software will then analyze the film and will select the best images that will have been taken during the turbulence holes. These images will then be stacked to decrease the noise of the final image.
The photographed subjects being very bright and the exposure times very short, light pollution is usually not a big problem in planetary astrophotography. Some astrophotographers even get excellent results from their balcony…
Equipment
Planetary astrophotography requires a wide diameter telescope with sufficient focal length (at least 800 mm). Newtonian telescopes will be the cheapest, but they are bulky: the length of the tube will be approximately equal to the focal length of the instrument. Count € 300 for a good first price. Do not forget the collimation laser that will allow you to align the mirrors of your telescope as well as a barlow lens which will increase the focal length of your instrument.
If your budget is larger, you can have a look to Schmidt-Cassegrain or Maksutov telescopes (it is the name of their optical formulas). These instruments have the advantage of being more compact than newtonian telescopes for a longer focal length. Their weight will be on the other hand similar. Count around € 800 for an optical tube assembly. The brands Celestron, Skywatcher, or even Orion are very good choices (they are identical because they come from the same Chinese manufacturer Synta, only the look changes).
Once you have purchased your telescope, you will need to buy a sufficiently sized equatorial mount. Its role will be to follow the movement of the celestial vault. Count from € 600 to € 2,000 for a quality one. Check with your dealer to make the best choice.
Finally, you have to get the computer equipment: a laptop if you don’t have one, and a “planetary camera” (a cooled model is not required). To begin, choose a color camera. Advanced users use monochrome cameras, more sensitive, and allowing to collect scientific data using specialized filters.
.jpg)
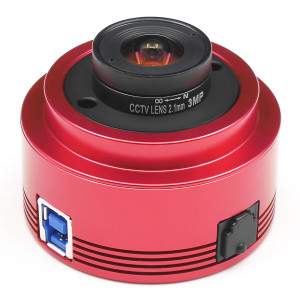
Count from € 200 to € 300 for a quality color camera. Today, ASI cameras from Chinese manufacturers ZWO or QHY are what does the best in the market and they are widely distributed in Europe. Of course, don’t forget a battery for your mount (€ 50). At total, plan between € 2,500 and € 3,000 to get started with planetary imagery.
Deep-sky astrophotography
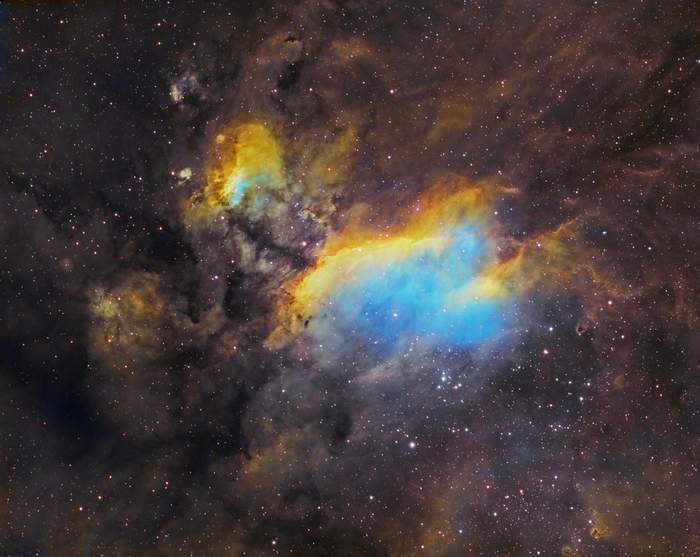
By deep-sky we mean all objects that are outside of the solar system: nebulae, galaxies, star clusters… Unlike planets, deep-sky objects are very dim. To photograph them, you have to accumulate long hours of exposure times, whereas in planetary imagery, you have to take ultra-short exposures. The size of the photographed objects also differs: they are often very large (sometimes several times the size of the Moon). Therefore, this discipline requires completely different equipments.
Optical equipment
You can use any type of lens that has sufficient focal length (at least 200 or 300 mm): a telephoto lens, a telescope, a refractor… Unlike planetary astrophotography, the diameter of the instrument does not matter. A 60 mm wide diameter instrument can be sufficient.
To begin, refractors are ideal: they are easy to use (no collimation is necessary), they are compact and lightwheight. A “80 ED” apochromatic lens (without chromatism) with its field corrector (to get round stars in the corners of the images) is ideal. They are cheap (around € 400), and in general optically very good. Count around € 200 more for the field corrector. To get started, take a look at Chinese brands like Orion or Skywatcher (the manufacturer is the same: Synta).
The price of high-end refractors specialized in astrophotography can far exceed € 10,000.
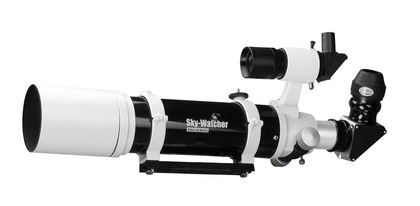
Refractors are excellent for imaging large objects (nebulae). If you want to tackle galaxies, much smaller, will need more focal length. You can then go for a telescope. But because of their size, their important focal length, and the necessary settings (collimation), telescopes will be more difficult to use in astrophotography. Count from € 500 for a newtonian telescope (200 mm diameter), up to more than € 10,000, € 20,000, € 30,000 (or more) for the most high-end telescopes.
The imager
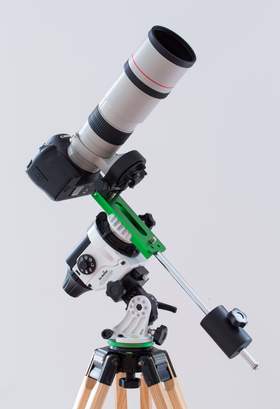
You can use your DSLR that you will connect directly to your instrument using an adaptation ring (ask your dealer for information). The goal will be to take single exposures of a few minutes during some hours. They will then be stacked on a computer to simulate a longer exposure. A remote controller will then be necessary to start exposures without vibrations. Or better, an intervalometer (it allows to program a sequence of exposures, € 30). You can also use a PC which will be connected to your DSLR.
DSLR are ideal for beginners. But for demanding users, they have two problems. They are not enough sensitive and the images they deliver can be of poor quality in the dark: they are noisy. We must then move to specialized cameras: these are cameras equipped with a color or monochrome low noise and very sensitive CMOS sensor. They are also cooled in order to, among other things, reduce noise of the images. Some can go down to 60° below the ambient temperature. The price of these cameras depends on the technology used and the size of their sensor. However, it remains high: from around € 800, up to more than € 10,000 for 36 mm * 36 mm square sensor cameras.
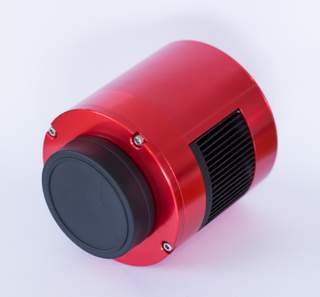
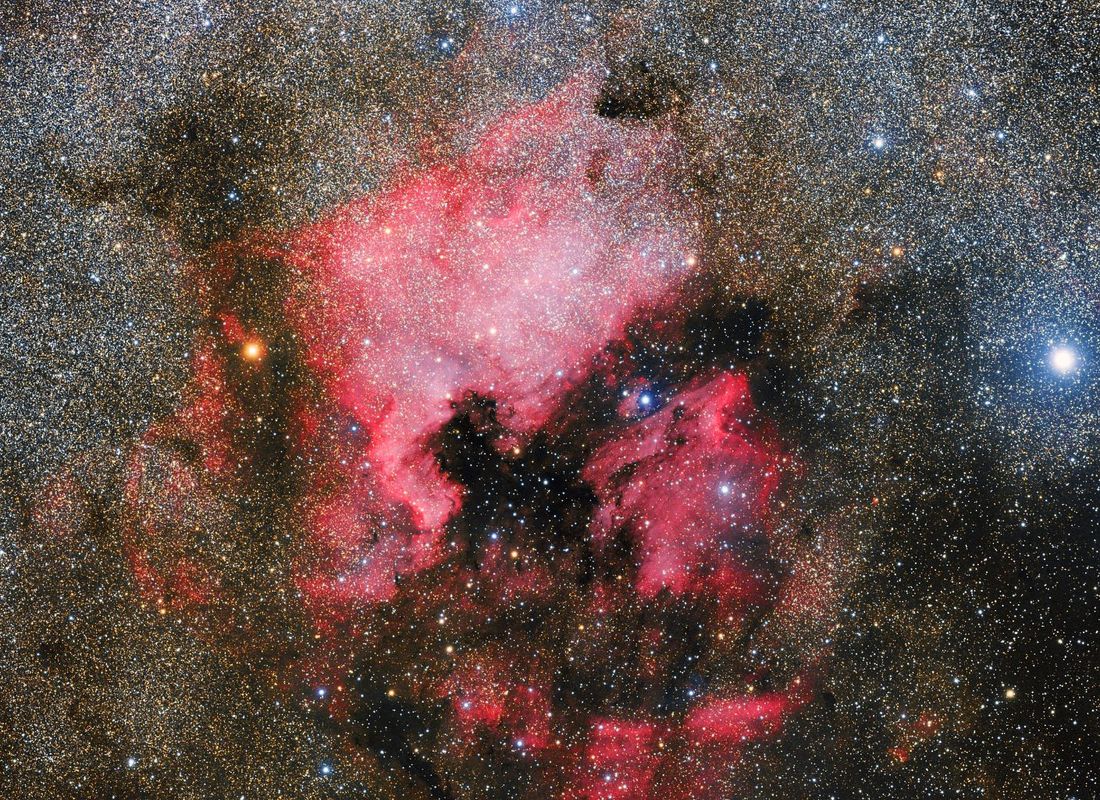
If you choose a DSLR to begin, you will have to have to modify it in order to photograph the nebulae. The operation consists in opening the device and changing the protection glass of the sensor because it cuts a large part of the intense red emitted by nebulae (it is a low pass filter). Some companies are specialized in the operation and will do it for you.
The equatorial mount
The quality of the equatorial mount is primordial in deep-sky astrophotography. During the long hours of exposure times, its role is to track the movement of the celestial vault in order to ensure that each pixel of the sensor of your camera stays in front of the same portion of sky. If the tracking of your mount is not good, the stars of your image will no longer be round but oval. This defect is more visible if the focal length of your instrument is important.
These tracking problems can be corrected with an autoguiding system: a second small telescope (or an optical divider) will be added on your mounting, on which a camera will continuously film a star. This image will be analyzed by a computer, which, in case of wrong tracking, will send a correction to your mount. Please note, autoguiding is complex to master for beginners and it is not necessary to begin. Ask your dealer for advice.
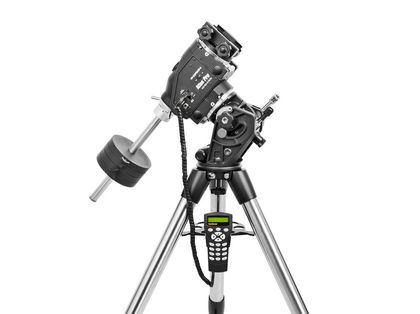
Your mount must be adapted to the size of your instrument: a large telescope will require a big mount. If you start by a small telescope, but plan to use a larger telescope later, choose a mount with a load capacity adapted to the weight of your future telescope. Avoid altazimuthal mounts: the tracking is made using 2 axes (up and down), which will cause field rotation problems. Prefer “equatorial” mounts because tracking is made on a single axis: the one of the Earth rotation.
The price of a good equatorial mount (EQM-35 PRO, HEQ5 or EQ6 from Skywatcher) ranges from € 700 to over € 15,000 for most precise ones capable of supporting the largest instruments.
In total (instrument, field corrector, DSLR or camera, rings, cables, mounts, batteries, etc.), you will need a budget ranging from € 3,000, to… almost the infinite :-)
Clubs and second-hand market
Do not forget the second-hand market, where you can get good instruments at low prices. If you are considering this solution, get accompanied with an experienced user.
Final advice: do not buy all your equipment in one time. Buy it only when you really need it. And above all, get in touch with the astronomy club near you. You will be able to test equipment before buying it, and you will benefit from advices by enthusiasts that are equipped since a very long time.
